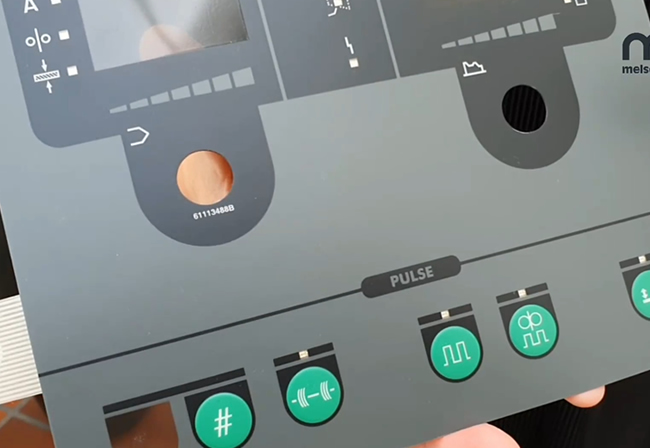
Membrane switches are a popular choice for a wide range of electronic devices. They offer durability, flexibility, and cost-effectiveness that make them a versatile option for various applications.
However, if you are considering using membrane switches for your product, you need to ensure that they work effectively and efficiently.
A membrane switch prototype is a sample product that demonstrates the functionality and design of a finished membrane switch. It allows you to test and refine the switch before proceeding with the final production.
The membrane switch prototype typically includes the graphic overlay, adhesive layer, and circuit layer that are used in the final product. By using a prototype, you can test the electrical conductivity, tactile response, and overall appearance of the switch.

Functionality Test
By using a prototype, you can test the functionality of your switch and identify any issues or areas that require improvement. It can help you save time and resources in the long run, as any issues can be addressed before final production.
Design is Refined
A prototype allows you to refine the design of your switch to ensure that it meets your requirements. You can make adjustments to the size, shape, color, and other features to create a product that matches your exact specifications.
Cost Saving
By creating a prototype, you can avoid costly mistakes during final production. If there are any issues with the design or functionality of the switch, they can be addressed early on, reducing the risk of expensive errors.
The process of creating a membrane switch prototype involves several steps, including:
1. Design the Overlay and Circuit Layer
The first step is to design the graphic overlay and circuit layer. The overlay includes the graphics and text that appear on the switch, while the circuit layer contains the electrical components.
2. Print the Overlay and Circuit Layer
Once you have designed the overlay and circuit layer, you need to print them onto a clear polyester film. This creates a transparent film that allows light to pass through the switch, making it easy to read.
3. Assemble the Layers
Next, you need to assemble the layers of the switch, including the graphic overlay, adhesive layer, and circuit layer. This creates a single, functional unit that can be tested and refined.
4. Test and Refine the Prototype
Once you have assembled the prototype, you need to test it for functionality and refine the design as needed. This may involve adjusting the size, shape, or color of the switch to ensure that it meets your requirements.